$500 Off Cabinet Painting
Painting unfinished kitchen cabinets is one of the most transformative home improvement projects you can take on. Unlike fully finished cabinets, unfinished wood provides a blank canvas for creativity and precision. The results can modernize your kitchen while saving you thousands compared to a full remodel. At Trucoat Painting, we’ve painted over 500 cabinets for homeowners who wanted a fresh, high end finish without replacing their cabinetry. In this blog, we’ll walk you step by step through how to paint unfinished kitchen cabinets, including preparation, paint selection, application techniques, and finishing tips.
Getting it right isn’t just about aesthetics, it’s about durability. Properly painted cabinets resist chips, scratches, and daily wear. Whether you’re a seasoned DIYer or hiring professionals, understanding this process ensures your cabinets look like a showroom finish.
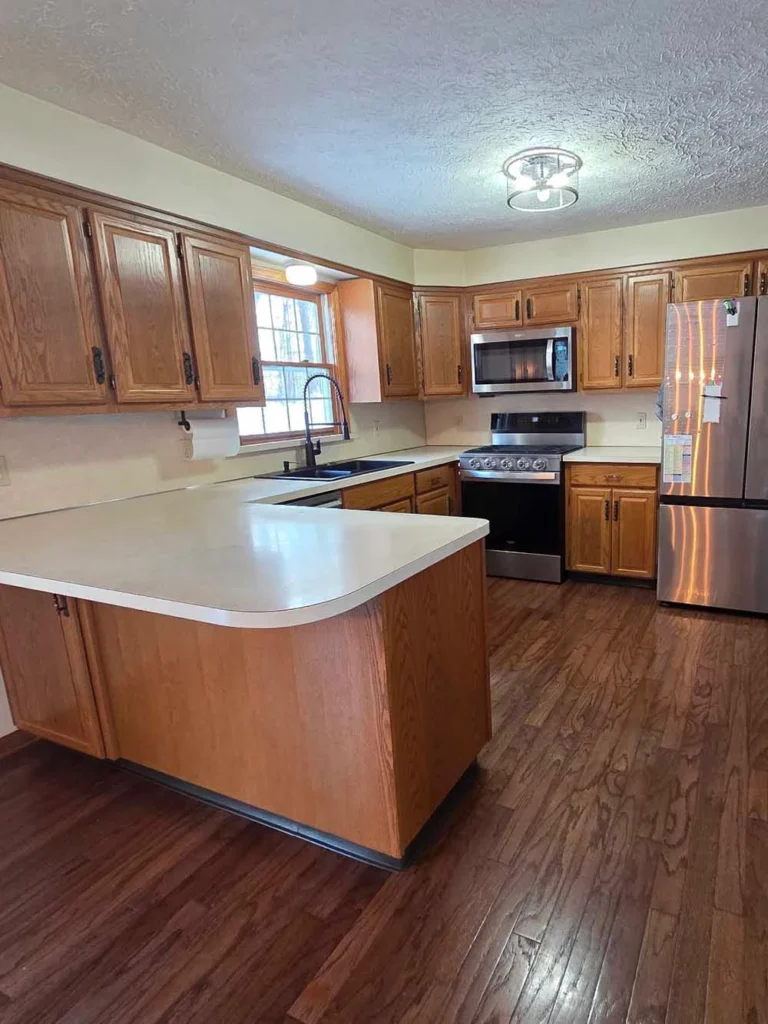
Preparing Unfinished Cabinets for Painting
Preparation is the foundation of success when learning how to paint unfinished kitchen cabinets. A smooth, clean surface is essential to ensure the paint adheres properly and lasts for years. Skipping or rushing prep work is the most common reason painted cabinets fail.
Why Prep Is Crucial
- Adhesion: Unfinished wood is porous and can absorb paint unevenly. Proper sanding and priming ensure the paint sticks correctly.
- Durability: Painting over dust, oils, or uneven surfaces leads to peeling and chipping.
- Professional finish: A well prepped cabinet has a smooth, even finish that looks high end.
Step by Step Prep Process
- Remove all hardware: Take off knobs, handles, and hinges. Hardware can get coated in paint if left in place and make finishing uneven.
- Clean thoroughly: Wash cabinets with a gentle detergent or trisodium phosphate (TSP). This removes grease, grime, and any residue that prevents paint adhesion.
- Sand the surface: Use 120-150 grit sandpaper to smooth rough areas and open the wood grain. This step is critical for unfinished wood to prevent blotchy paint. For larger areas, an orbital sander speeds up the process.
- Remove dust: After sanding, vacuum and wipe with a tack cloth. Dust particles show through paint if not removed.
- Prime the cabinets: Apply a high quality, stain blocking primer. Primer ensures uniform coverage and prevents blotching. For unfinished wood, a bonding primer works best.
Proper preparation isn’t glamorous, but it’s the step that guarantees a professional outcome. With Trucoat Painting’s experience painting over 500 cabinets, we’ve seen firsthand how prep work directly correlates to lasting results.
Choosing the Right Paint for Unfinished Cabinets
Choosing the right paint is as important as preparation when it comes to how to paint unfinished kitchen cabinets. The wrong type of paint can peel, yellow, or wear quickly.
Recommended Paint Types
- Acrylic latex paint: Water based, low odor, easy to clean, and creates a smooth finish. Ideal for modern kitchens.
- Oil based paint: Harder and more durable, excellent for high traffic kitchens. Offers a glossy, polished finish.
Finishes to Consider
- Satin: Subtle sheen, easy to clean, and hides fingerprints.
- Semi gloss: Slightly shinier, very durable, ideal for kitchen cabinets.
- Gloss: Highly reflective, makes colors pop, very durable but shows imperfections.
Selecting the right paint finish is about balancing aesthetics with functionality. Satin and semi gloss finishes are the most popular for kitchen cabinets because they clean easily while still looking professional. Choosing the wrong type of paint can result in a short lived finish, while the right one ensures years of durability.
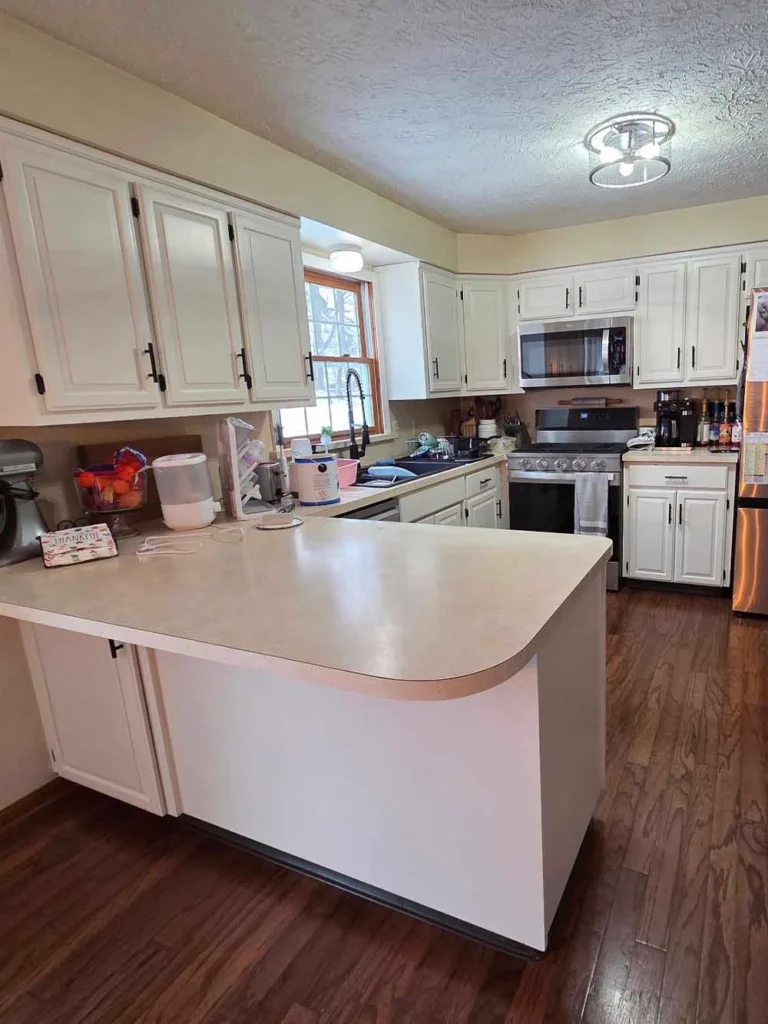
Painting Techniques for a Professional Finish
Even with excellent preparation and the right paint, technique is everything. Learning how to paint unfinished kitchen cabinets the right way ensures a smooth, durable finish.
Tools You’ll Need
- High quality synthetic brushes for edges and detailed areas.
- Foam rollers for flat cabinet surfaces.
- Painter’s tape to protect walls and floors.
- Sanding block or orbital sander.
- Drop cloths to protect counters and floors.
Step by Step Painting Process
- Start with the edges: Use a brush to cut in corners, door edges, and panels. Avoid dragging the brush too hard to prevent streaks.
- Use thin coats: Multiple thin coats prevent drips and achieve an even finish. One thick coat often leads to uneven drying and peeling.
- Roll flat panels: Foam rollers create a smooth, streak-free surface. Roll in long, even strokes to avoid lines.
- Allow drying time: Each coat must dry completely before applying the next. Follow the manufacturer’s recommended drying times for best results.
- Lightly sand between coats: Using fine grit sandpaper (220 grit) between coats ensures a glass smooth finish. Remove dust before the next coat.
Applying paint correctly is a skill. With experience painting over 500 cabinets, Trucoat Painting has refined techniques that guarantee long lasting, professional results.
Finishing and Protecting Painted Cabinets
Painting is just the first step. Proper finishing ensures your newly painted cabinets remain beautiful for years.
Essential Finishing Steps
- Reattach hardware: Once the paint fully cures, reinstall knobs, handles, and hinges carefully.
- Apply a protective topcoat: Clear polyurethane or polycrylic seals your paint and protects against scratches, moisture, and daily wear.
- Allow full curing: Even if the paint feels dry, it can take 48-72 hours for complete curing. Avoid heavy use during this period.
Maintenance Tips
- Clean cabinets gently with a soft cloth and mild detergent.
- Avoid abrasive cleaners that can damage the paint.
- Inspect periodically for minor chips or scratches and touch up as needed.
A well finished cabinet is easier to maintain, and proper care extends its life. Trucoat Painting ensures all cabinets we paint are fully prepped, painted, and finished for maximum longevity.
Book Free estimate now!
Schedule a free estimate with our experts at Trucoat Painting Plus to gain insights on your cabinet painting project.
Why Experience Matters in Cabinet Painting
Painting unfinished cabinets is deceptively simple in theory. Anyone can slap paint on wood, but achieving a professional finish requires skill, knowledge, and the right materials. That’s why experience matters.
- Surface knowledge: Professionals know how different woods absorb paint and how to adjust prep and priming accordingly.
- Efficiency: A trained team can complete full kitchens in a fraction of the time a DIYer would take.
- Problem solving: Experienced painters anticipate issues like uneven grain, knots, or wood discoloration, and resolve them before painting.
With over 500 cabinets painted, Trucoat Painting has seen every scenario, giving homeowners confidence in a flawless outcome. DIYers often underestimate the skill needed, which can result in uneven finishes or the need to repaint sooner than expected.
Conclusion
Painting unfinished kitchen cabinets is one of the most rewarding ways to upgrade a kitchen without a full remodel. Success depends on proper preparation, selecting the right materials, and applying paint with the right technique. Whether you tackle the project yourself or hire professionals, understanding the process makes a significant difference in the outcome.
From sanding and priming to painting and sealing, each step is essential for achieving a professional quality finish. Following these steps will give your cabinets a smooth, durable, and visually stunning look that lasts for years. Trucoat Painting’s experience painting over 500 cabinets proves that attention to detail and proper technique matter.
By investing time and effort into preparation, application, and finishing, your unfinished cabinets can look like custom installed pieces for a fraction of the cost. With the right approach, your cabinets will not only look incredible but also withstand daily use for years.